
Create a wonderful 3D prints for your clients, friends and family!
Triaxes is proud to launch free festive Templates to inspire you by Christmas and New Year mood!
Please, follow the steps below to make your own 3D card out of common picture and template.
Step 1. Upload your Picture and Template to the software.
- Launch 3DMasterKit
- Add your Photo and Triaxes Template (multilayer .psd file) using command Layer>>Add…
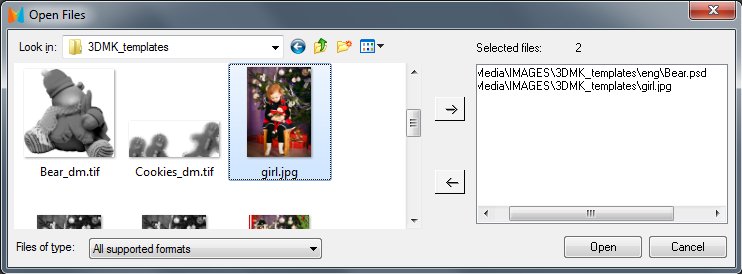
Result: Your Picture and Template (usually layerd) is available for editing in Layers panel.
Step 2. Resize your Picture to fit the Template and move to appropriate level.
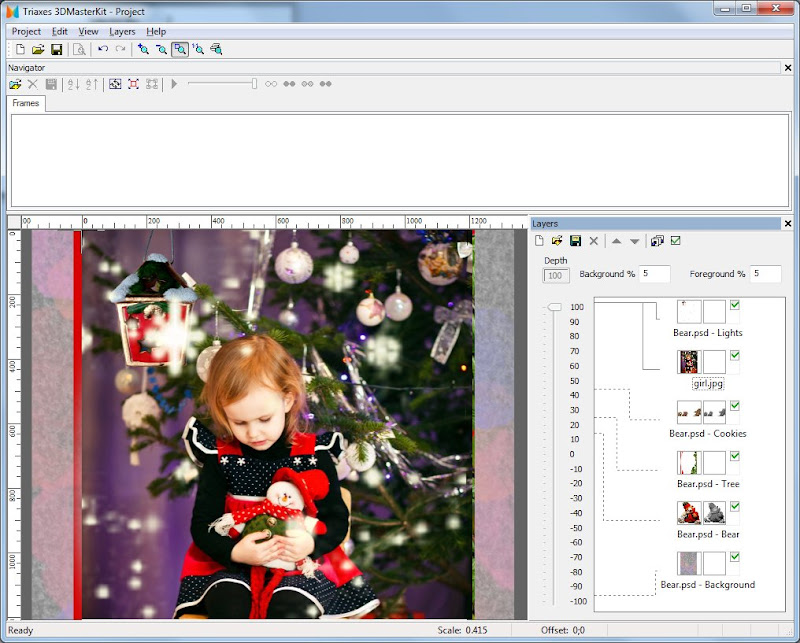
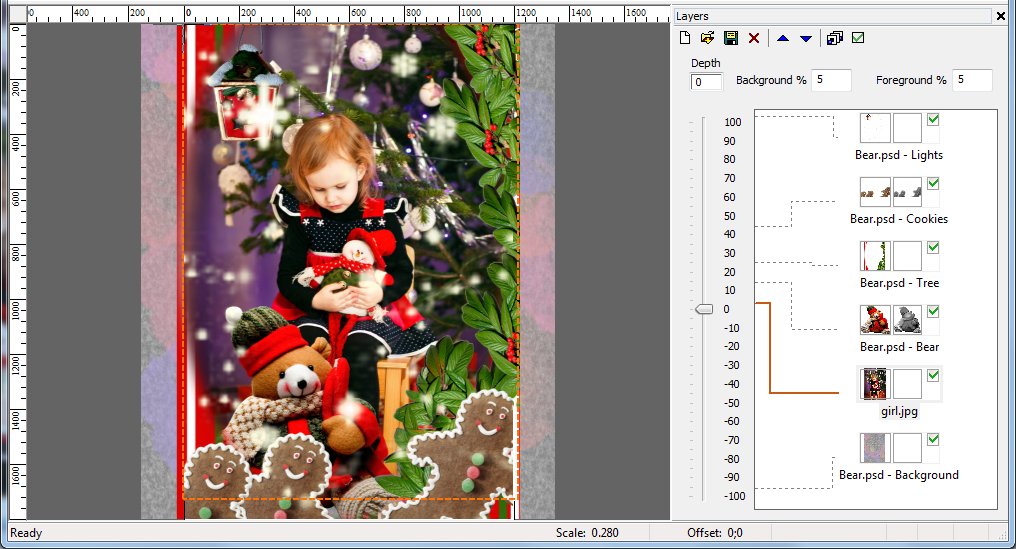
- Select you Picture in Layers Panel
- Select command Edit>>Transform>>Scale (Alt + S) and use mouse to adjust photo size to fit the Template

- Move photo to the Level 0 or little bit lower (-20 .. -30). In this case other layers will appear above the photo. Please select photo in the layers list and move slider in the “depth” scale to the appropriate level.
In the same way you could adjust Depth Parameter for each layer.
For example, background could be shifted on (-100) depth result. All the other Layers will be situated above it. Your photo should be around 0 level of Depth scale. The frame and other Template objects should be situated in positive depth area (up to 100).
Step 3. Add the depth-map to the Photo. This step is optional.
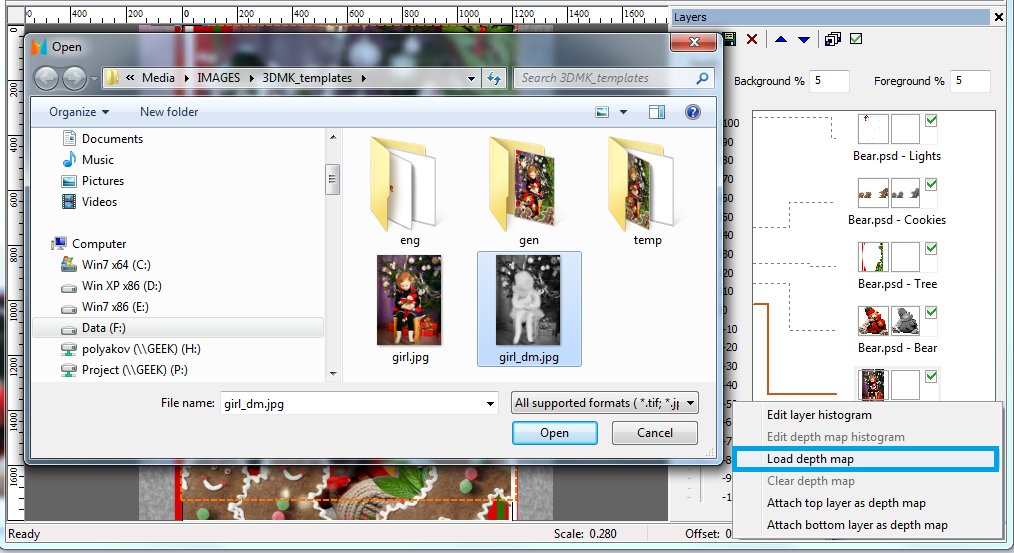
You may create simple depth-map for each level – this will make image more natural. The sample depth-map is shown below. We use original image, convert it in the gray scale and use brush tool to select objects which is closer to the viewer (the high precision is not needed).
[twocol_one]

[/twocol_one]
[twocol_one_last]

[/twocol_one_last]
Press right mouse button on the photo in the Layers list and select Load depth map command. Select the file with appropriate depth-map.
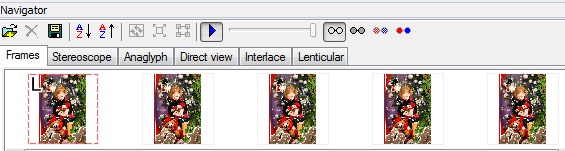
Step4. Generate 3D series.
- Set Background and Foreground parallax (5-7%).
- Generate multiview series:
- Go to Layers>>Generate multiview stereo (Alt+G)
- Select the number of frames to generate (at least 12)
- Press Generate button

Result: You’ll get the series of images for making lenticular 3D picture.

Step 5. Preview.
- Press Play button on Navigation Panel.
Congratulations! Your 3D Card is ready to print now. You can save the result as .GIF or .AVI file with needed size.

Step 6. Making Lenticular 3D.
- To get a 3D lenticular image (photo with 3D effect one can see without glasses) go to the Lenticular tab specify parameters of your lenticular material and press Generate button. You will get an encoded image, which you can print and laminate.


Triaxes Legend and 3DMasterKit software, the difference between
Where there are different
Please indicate the