
StereoTracer: Convert a stereo (.MPO) photo to multiview 3D
Alexey Polyakov, Triaxes, 2011 (updated 2019).
Triaxes StereoTracer (here we use version 5.x.) has a feature to convert a stereo photo to multiview 3D using both left and right frames.
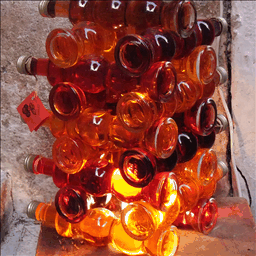
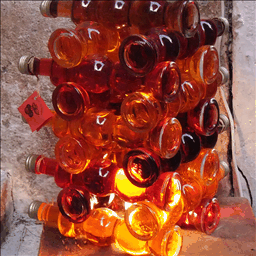
Let’s look at this photo taken on a shopping street of the small Croatian town on the Adriatic coast.
This .MPO file is taken by FujiFilm 3D W1 camera. (download original file)
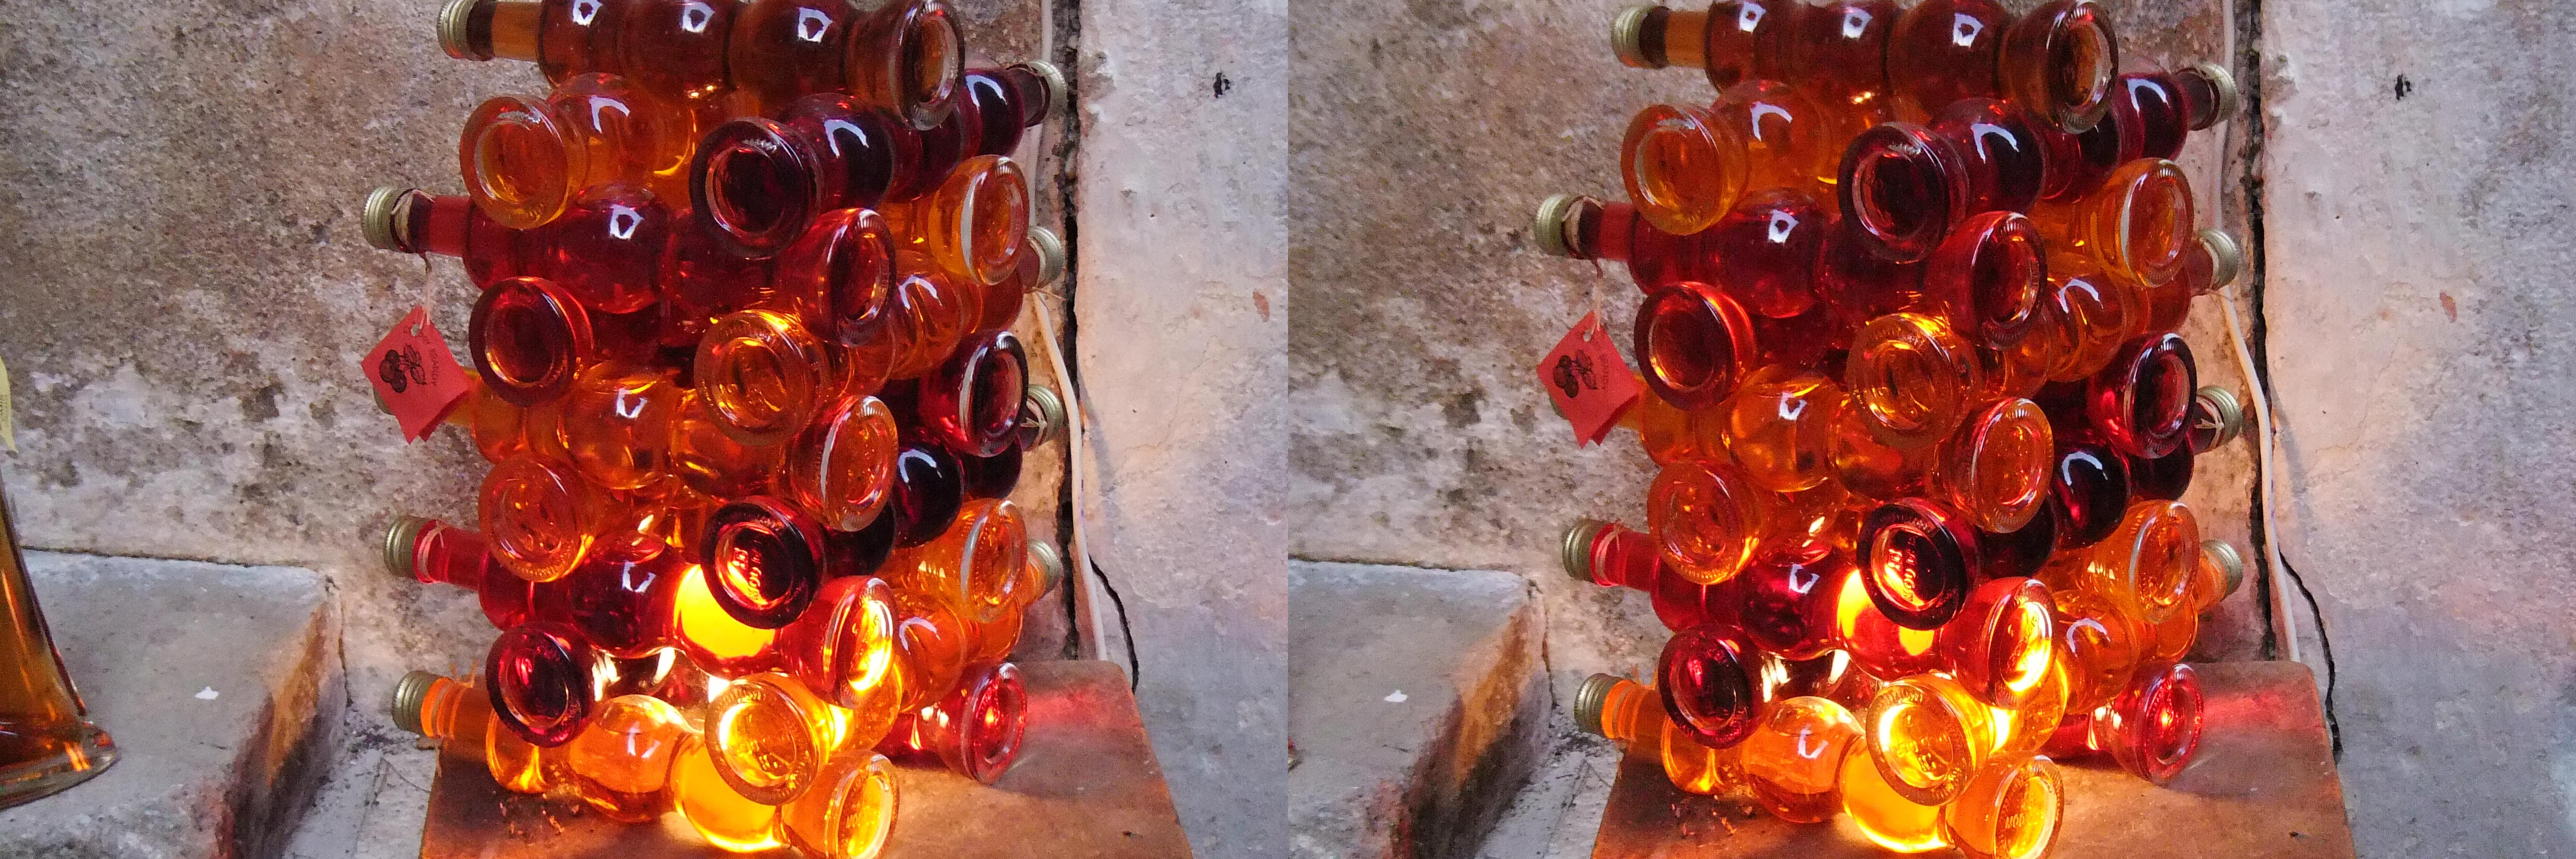
Stereo pair shot by FujiFilm 3D W1 camera
Let’s see in what way we can convert it to 3D and how to make fine tuning of the rendering settings.
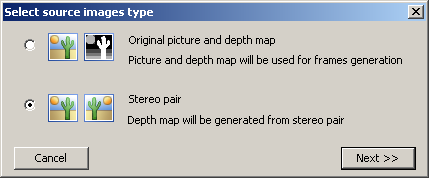
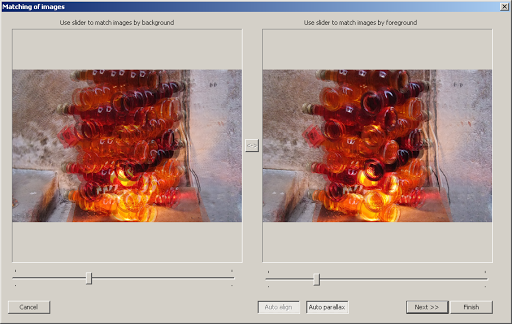
1. Run StereoTracer, select the “Stereo pair” project type:
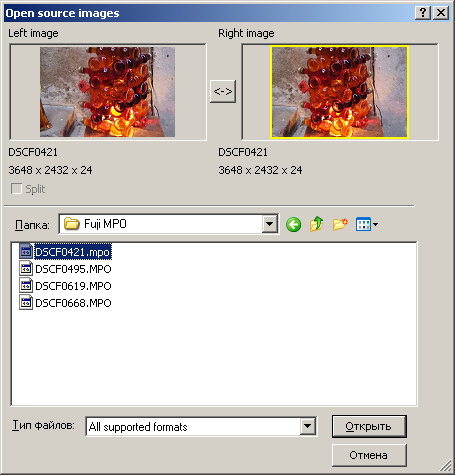
2. Select the source file.
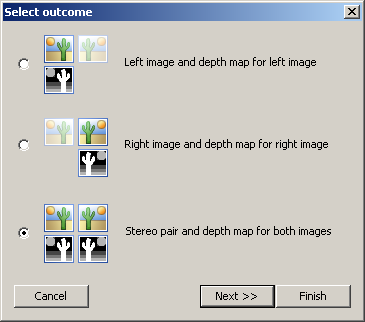
3. Select the third option (depth map for both source frames).
4. StereoTracer automatically aligns source images (press “Auto align”) and detects parallaxes (“Auto” parallax).
Use these options to get better results.
5. Then StereoTracer shows the preview window with 9 variants of the depth map.
Select the best one.
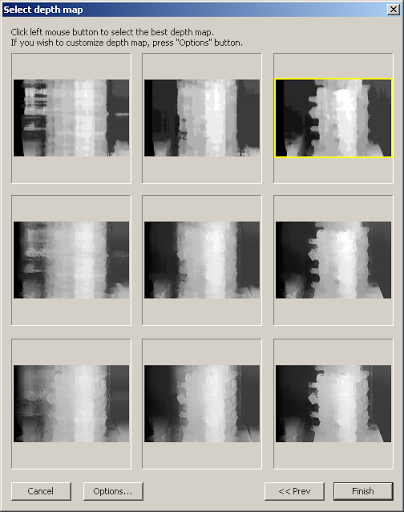
Press Finish. StereoTracer calculates the depth maps for both images.
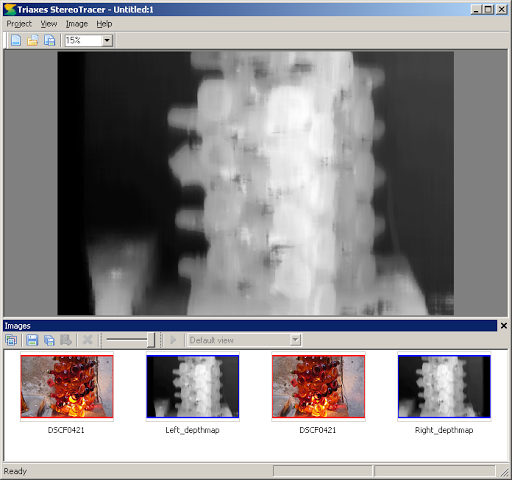
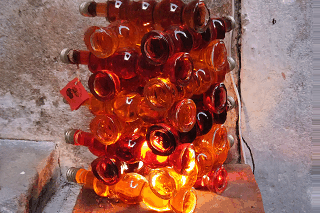
The result is shown below:
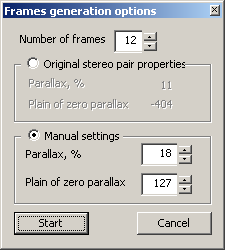
Now we can start multiview rendering. Use the following command: Image|Generate Frames.
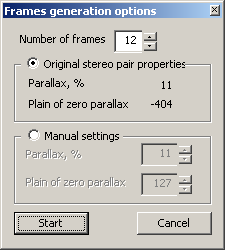
This dialog has the following options:
– use the source stereo photo properties: in this case only intermediate frames are calculated and the convergence point is not changing;
– manual settings: in this case we can set the desired parallax and convergence point.
In the first case we get the following series of frames:

The source stereo photo has the convergence point far from the background wall, so the result looks like a motion. Using StereoTracer we can also correct this situation.
|
Select “Manual settings” and set the convergence (Plain of zero parallax) at 127 ( 0 – background; 255-foreground, 127 – intermediate). For now leave the Parallax settings the same as in source frame (11%). |
|
If the source stereo photo has the parallax less than needed for a good 3D effect we can increase it. In this case StereoTracer will extrapolate frames out of source stereo frames. Lets set Parallax 18% |
 Parallax 11% |
|
 Parallax 18% |
 Animated .gif file with the original parallax (11%) |
 Animated .gif with the extended parallax (18%). |
So using the feature of “inter- and extrapolation” of the stereo photo in StereoTracer we can get a sequence of images very close to the real multi-frame shooting using the photo slider.
| Note (2D+Depth case) For comparison, let’s look at the animation, which we can get using only one depth map and left frame (2D+Depth). It can be seen that in this case, the background is simply stretched. In the case of using two original frames of the stereo pair (respectively, two depth maps), the background is restored more naturally. |
|
 2D+Depth project type |
 Animation gif based only on 2D+Depth. Original stereo pair is used only to calculate Depth |
Update 2019. Watch video how to convert MPO for Looking Glass Holographic Display
Looking Glass Holographic Display has incredible potential to show multi-view images with large parallaxes. It is recommended to use parallax settings in the range 50%-100% and the number of frames 45-100.
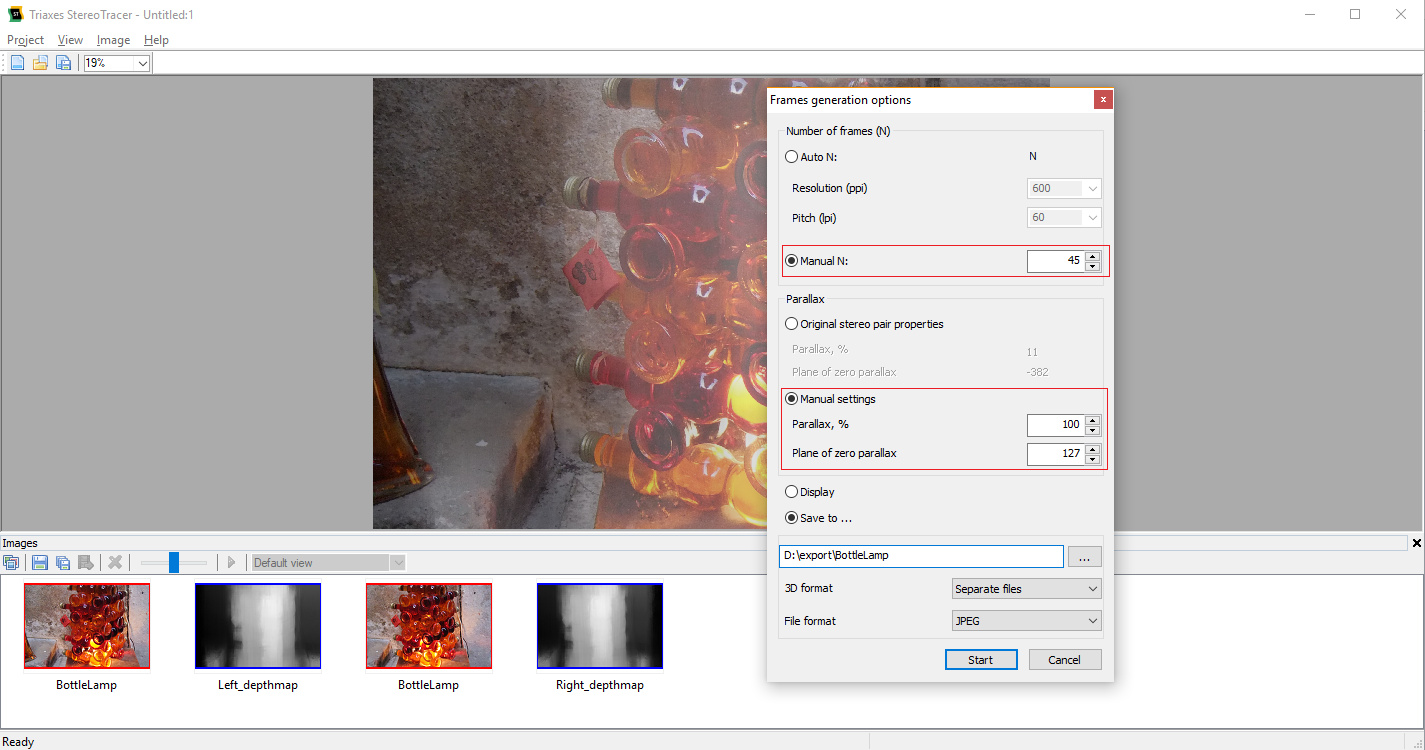
Triaxes StereoTracer generation settings for Looking Glass Holographic Display


