ABC of the lenticular 3D printing
3D image creation
1. Finding the basis
To gain the best 3D effect it is necessary to calculate the basis of the stereo shooting. You can easily do it with our StereoMeter freeware.
2. Shooting a sequence of frames
To create a good 3D photo you will need 10-12 frames shot from different angles. The tripod will help you to do that and speed up the process considerably.
3. Image editing and encoding
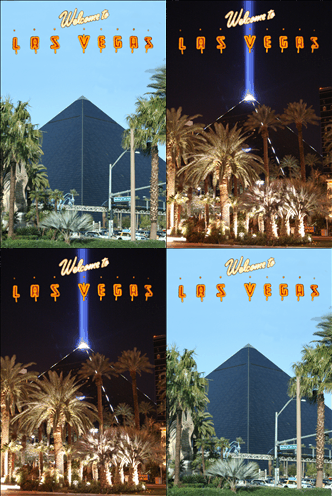
After shooting copy your images from the camera to your computer and edit with 3DMasterKit. You can rotate, scale and position images relative to each other, as well as overlay with logos, frames or other images. The «automove» function realized in 3DMasterKit allows to considerably speed up the process of frame adjustment. After he editing is finished you should encode the image.

Multiview image
4. Printing
You can position the encoded image on a sheet of paper, multiply it and also turn around 90. After all the necessary manipulations – print the image.
5. Adjusting the resulting image to the lenticular sheet
After the image is printed you should adjust and glue it to the lenticular sheet with the help of the laminator. The lenticular material is a transparent polymeric sheet with an array of cylindrical lenses. Thanks to the lenticular sheet the 3D effect is created. The lenticular sheet is covered with a thin transparent adhesive layer covered with a transparent protective foil. During the cold lamination process the foil is deleted and the lenticular sheet is glued to the image.
Creating pseudo-3D image
1. Open a stereo sample
Launch 3DMasterKit and open a template that will decorate your photo. A template is a PSD file with a multilayered image created in Photoshop or a bunch of images in the TIFF format. 3DMasterKit contains a number of various theme-based templates created by professional designers. After you open a template you can change the order and relative position of layers. You can also add new layers.

pseudo-3D image
2. Adding a photo
Add your regular photo (as one more layer) to the template.
3. Generating a sequence of frames, encoding, printing, adjusting
The program will automatically generate a pseudo-stereo sequence of frames that can be encoded for the lenticular lens in a usual way. The resulting encoded image is printed and then adjusted to the lenticular sheet (watch this tutorial).
Creating a photo with various effects
Apart from a 3D photo you can create images with different original effects and even combine them with the 3D effect.
Effects:
- Flip
- Animation, motion
- Zoom
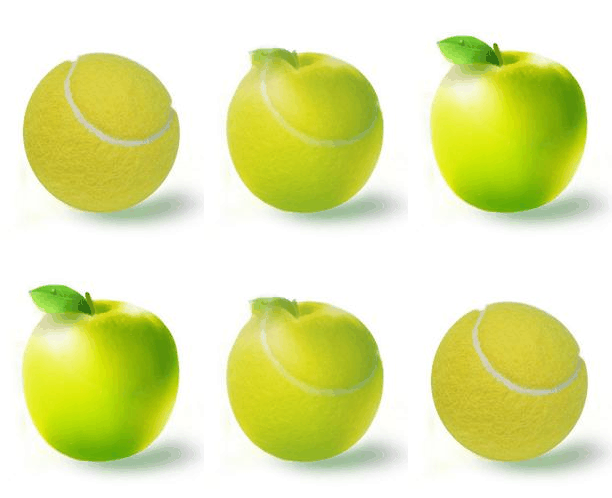
- Morphing
Steps:
1. Open source images
In 3DMasterKit open a number of source images (for example, to create the classical flip effect 2 images will be enough). You can edit your source images in the program: align the images relative to each other, overlay them with logos, frames and other images.
2. Lenticular encoding, printing, adjusting.
You encode the images for the lenticular lens in a usual way, print them and adjust to the lenticular material. In the resulting image you will see different source images at different angles.

Flip


