How to combine flip background and 3D objects
In this article I will show how to combine Flip background and 3D objects.
We are going to create a lenticular image with a flip background and overlapped foreground 3D objects built with depth maps and flat images.
The process consists of two stages:
1 Preparation of 3D images and depth maps in external software;
2 Creating the project in 3DMasterKit and final 3D rendering.
Stage 1. Prepare objects for 3D rendering.
In this stage we will create depth maps that will be used to give 2D images 3D depth when we render the final image. You will need photo editing software such as Photoshop or GIMP.
First of all, each object should be placed on a transparent background, then we will create a depth map for the object and save the result to the .psd file.
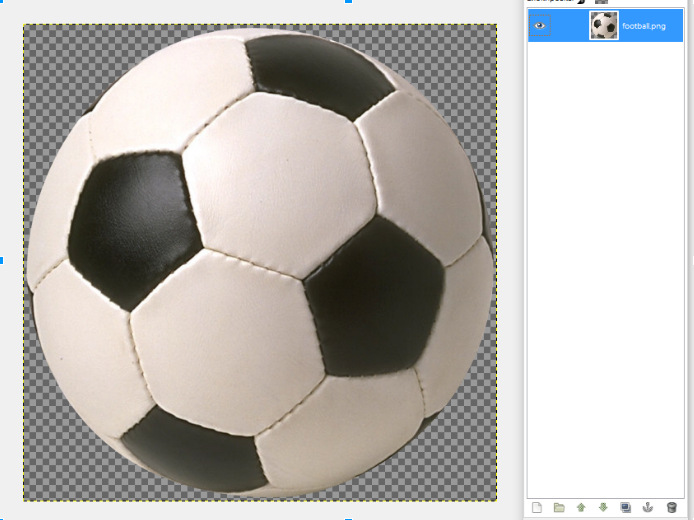
1.1 Open or create a layer with the transparent background.
1.2 The layer width should extend the image by 25% horizontally.

1.3 Next duplicate the layer. We will use the duplicated layer as a template to draw the shape of the depth-map. Note: Keep the size of the duplicated layer the same as the size of the original layer.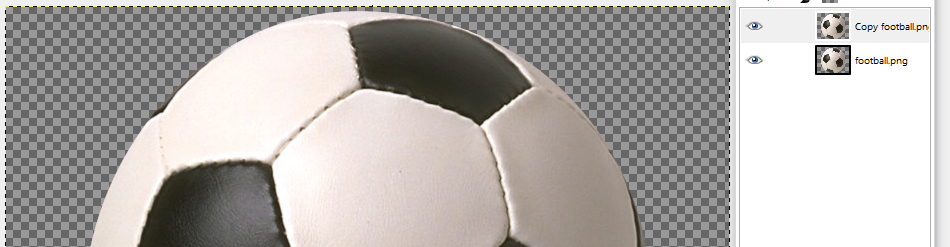
1.4 Use the appropriate tool (e.g “lasso” tool in Photoshop) to outline the shape of the object . Increase the size of selection by around 10-20 pixels. Next blur the edges of the selection, a suggested starting point is to use a blur with the radius of 10 pixels.

1.5 Next create a grey scale depth map that indicates the distance of object parts from the viewer. Use gradients and other tools to create a smooth depth map over the shape created in the previous step. The parts of the object which are closer to the viewer are lighter than the parts that are further away (see the next image).

1.6 Save the layered images (the image and the depth map) as a .PSD file. One PSD file is required for each 3D object you will incorporate into the final project.
Stage 2. Composing the project in 3DMasterKit and 3D rendering
We will use two background pictures, A and B, these should change when we look at the lenticular picture from different angles, the foreground images will be visible all the time and appear in 3D. To provide this effect we first need to add pictures A and B to the project followed by the addition of the 3D objects in front of the flip background photos.
 Image A: Kaliningrad-01.jpg |
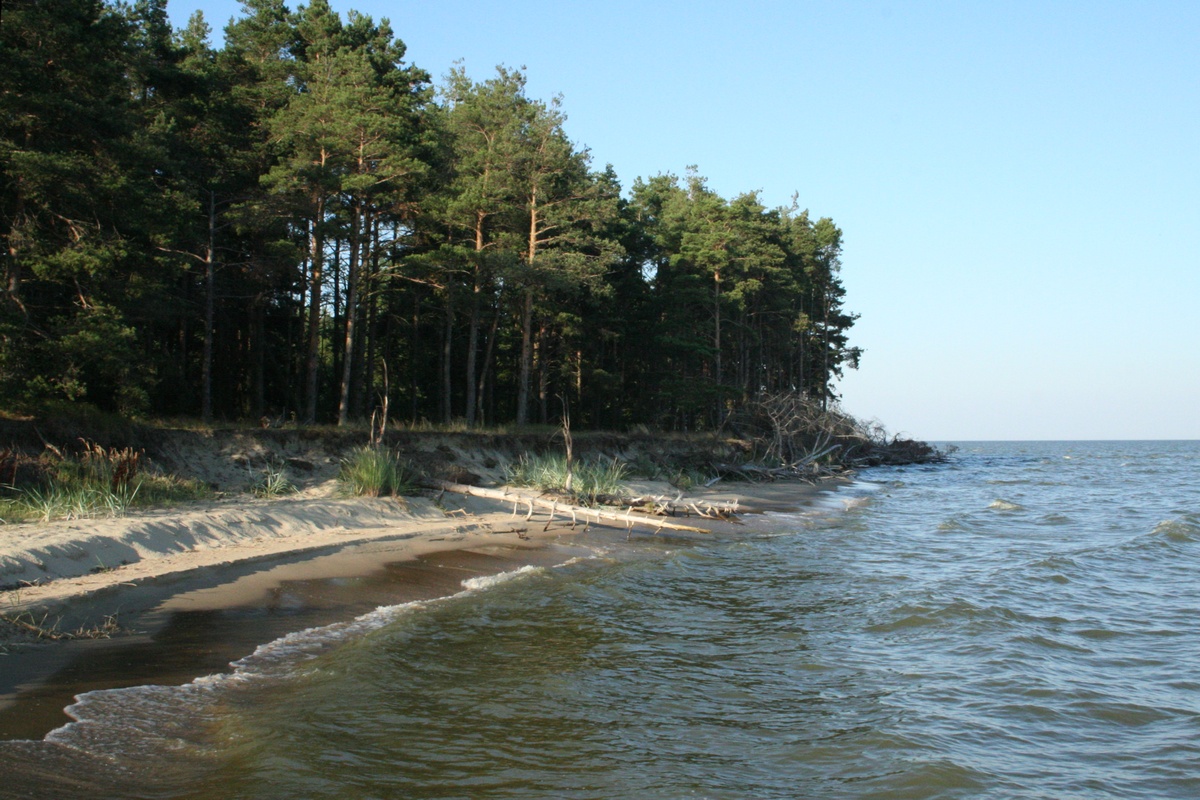 Image B: Kaliningrad-02.jpg |
The project should contain the appropriate number of frames for optimal 3D effect.
The optimum number of frames (N) can be calculated by the formula:
N=2*R/L
Where:
R = printer resolution (for example, 720 PPI)
L = lenticular pitch (60 LPI).
We would therefore need to add 24 frames to get optimal 3D effect.
Let’s do it step by step:
2.1 Create Project and Add background flip images.
- Run 3DMasterKit;
- Create a new project;
- Use command Project > Add frames and add fiels in the following sequence: 6 “A” images, than 12 “B” images, than again 6 “A” images (see the picture below);
- Click “Open” to add selected fiels to the project.

2.2 Add 3D objects to the project as layers.
We will use the previously created .psd files and add them as foreground 3D objects.
- Use the main menu command “Layers” and “Add” or click “Add” button in the Layers toolbar.
Select the .psd files with the required objects and add them to the project using the “Open” button.

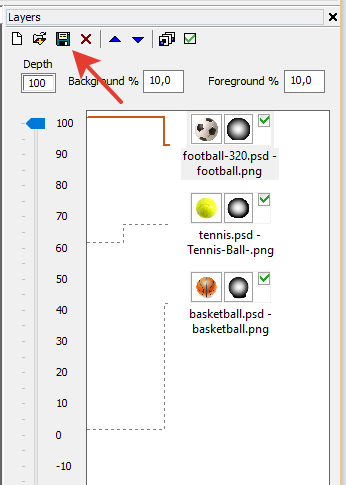
2.3 Depth maps and images
“Image” and “depth” layers will be shown separatly. We need to attach depth-maps for each image layer to create further 3D object.
- Right Click on the image layer in the Layers window;
- Preview and select Attach top layer as depth map (or bottom – it depends on the position of the depth map in your .PSD file);
- Repeat for all layers.

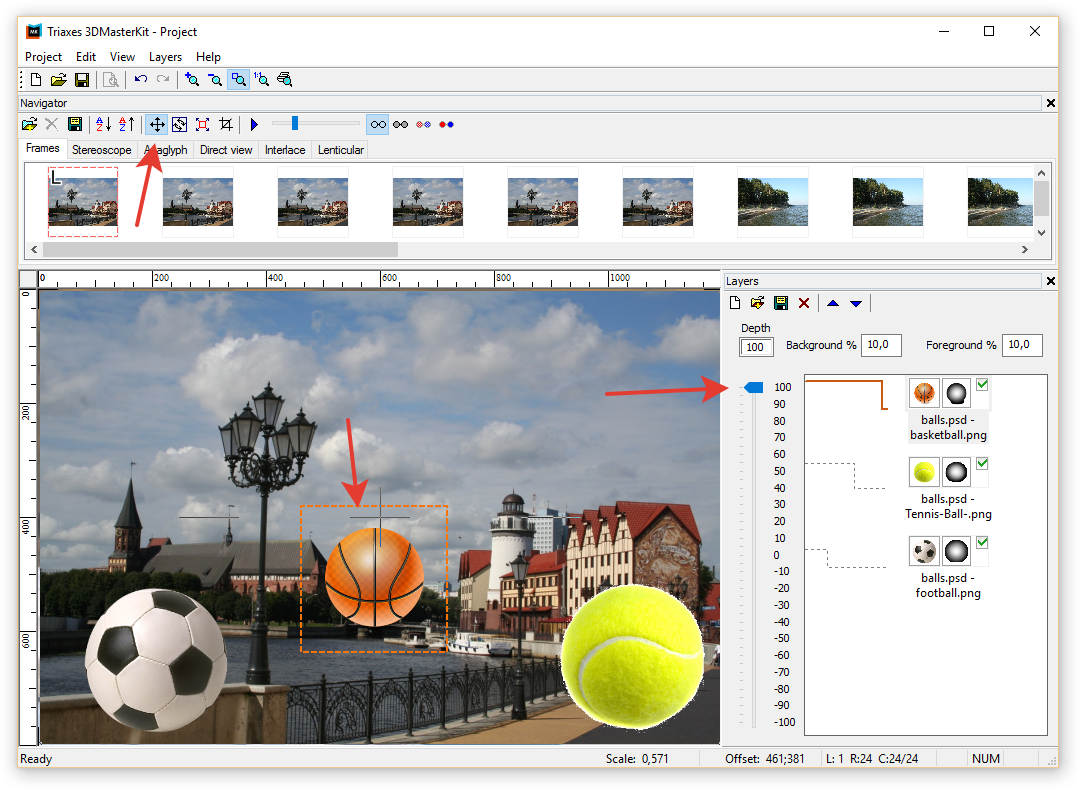
2.4. Move 3D objects to the desired position.
- Click the layer and use the Depth marker in the Layers window to specify relative distances to the objects. The Depth marker indicates the position of the layer in the entire project. If All objects/images have the depth from 0 to 100, the background flip pictures (A & B) will lay in the zero-parallax plane, this is equal to Depth =0.
2.5 Render multiple 3D frames.
- Click Generate stereo frames in the Layers toolbar;
- Check Overlapping existing frames.
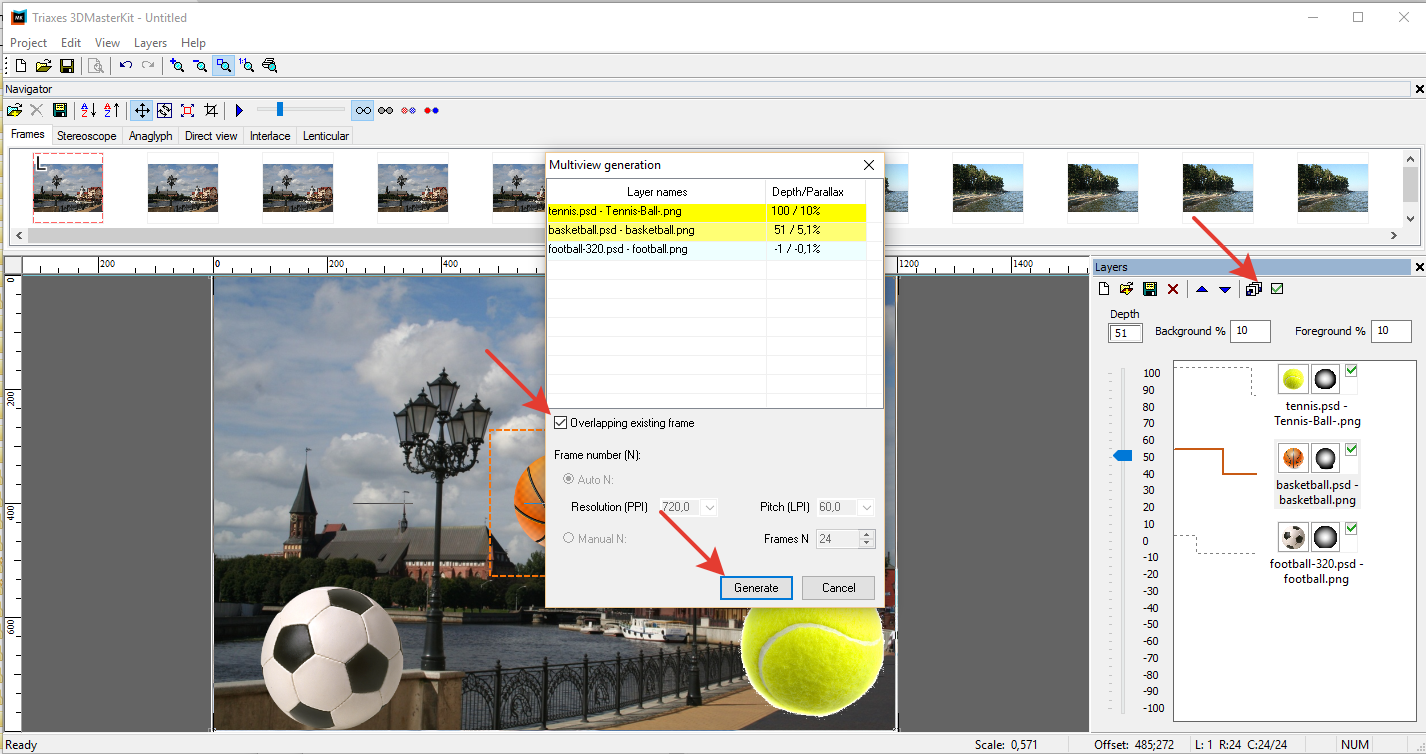
After generating the multiviews/frames –the 3D objects will be placed over the original series of photographs.

2.6 Preview the finished project.
Play the series of generated frames.
- View –> Animation (or press the space button).
The resulting series of frames could be saved as separate files, an animated .gif file (use Project->Export frames…) or encoded into a lenticular image (go to Lenticular tab, make settings and encode…).
You can optionally save all the layers with depth maps and settings in a .psdd file (.psdd is the format of 3DMasterKit based on PSD with the additional info about layers associations) – use cmand Layers->Save template…, or the button Save in the Layers toolbar.
Also you can save a complete project with all images and settings (use Project->Save).
The following animated .gif file shows the result.