5.1 3D sequence of frames generation from a 2D image and a depth map
To create a depth map from one source image any external graphic editor can be used. Some of the depth map creation methods are described in section 6. For the 3D sequence of frames generation from an 2D image and a depth map do the following:
- Execute Project > New (Ctrl+N) command and select the 2D+Depth project type in the appeared dialog. Press Next >>.
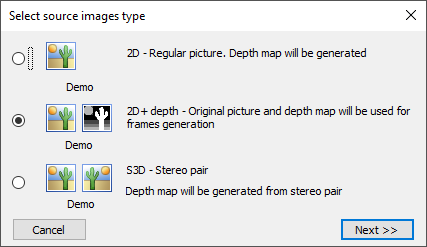
Figure 5.1 Select source images type dialog
- It is necessary to specify files’ names in the Open source images dialog. First, an ordinary picture (2D) is selected. For example, C:\Program Files\Triaxes\StereoTracer-en 10.x.x\samples\2D+Depth\raspberry.jpg (see Fig. 5.2).
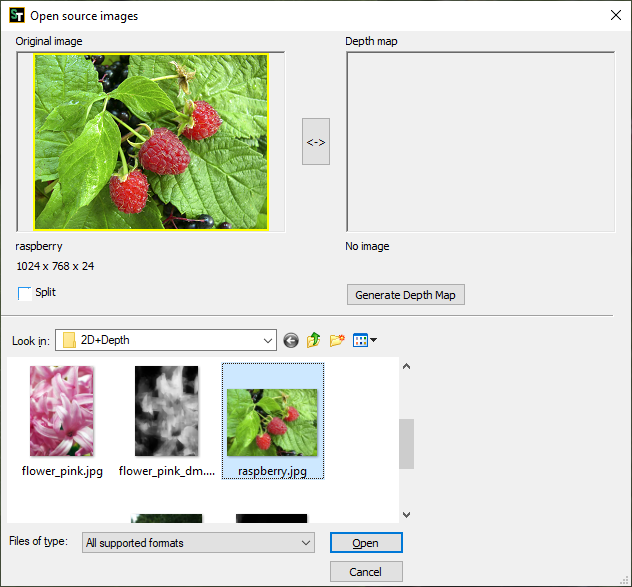
Figure 5.2. Open source images dialog
Preview of the chosen image will be shown in the left window of the dialog under the sign “Original image”.
Then, press the left mouse button on the right dialog's window under the sign “Depth map” and press the mouse button on the depth map's file name. For example, Files\Triaxes\StereoTracer-10.x.x\samples\2D+Depth\raspberry_dm.jpg (Fig. 5.3).
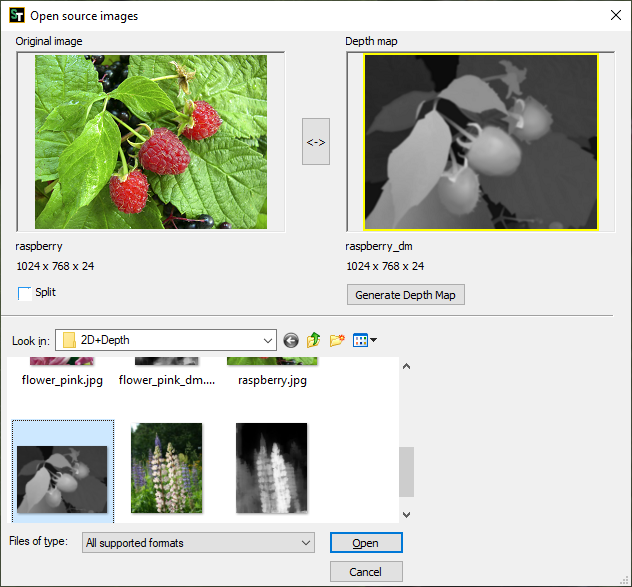
Figure 5.3 Open source images dialog
- Press «Open». After that the chosen images will be opened in the main program window.
- Select the menu command Image | Generate frames (Alt+G). The Frames generation options dialog will be shown (Fig. 5.4). Select the method and press Start button (see also section 4.5). As a result a 3D sequence of frames will be generated.
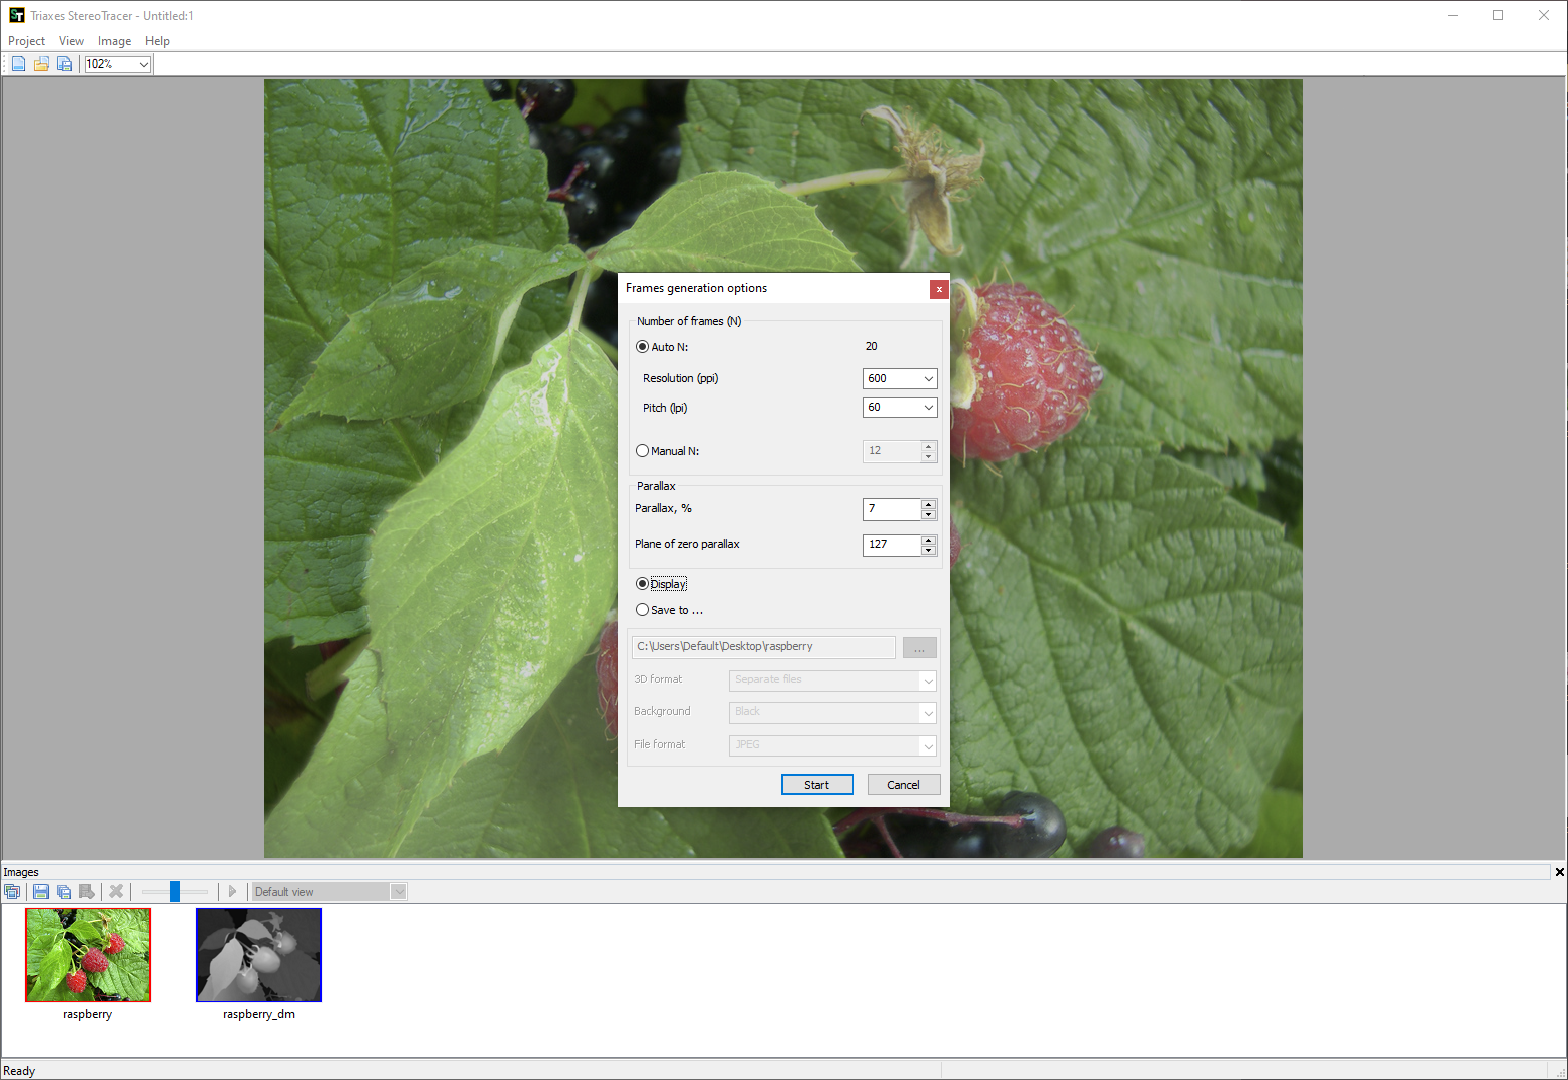
Figure 5.4 The main program window and the Frames generation options dialog
- The resulting 3D sequence of frames can be saved on disk as separate files (Image >> Save frames... (S)) or exported to Triaxes 3DMasterKit (Image >> Export to 3DMasterKit).