3.1 Working with template and layers
If you have a ready template that can be used for the virtual scene, you can open it for editing with the help of the Template panel. By default, this panel is located on the left side and at the bottom of the software window. Click "Browse..." to choose a template saved on your computer. From now on the list of templates from the folder will be displayed in the panel. To start editing the template you have chosen, click "Set template".
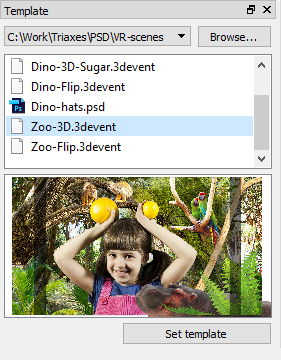
Fig. 3.1. Select template from the list
If you create a new template, you have 2 layers for the 3D project by default: Photo and Background; and 3 layers for the Flip project: Photo 1, Photo 2, Background. You cannot delete these layers from the template.
You can add a new layer or delete the chosen layer by clicking the corresponding button in the Layers list panel.
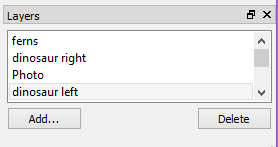
Fig. 3.2. Layers list
Add... - a button for adding a new layer to the template and choosing the image for a new layer. Standard file formats (extensions) are supported: .png, .bmp, .jpg, jpeg, .tif or .tiff.
After adding a new layer to the project you should set the necessary position (value) of this layer relative to the other layers. At the top of the Layer properties panel set the required slider position with its corresponding numeric value for getting the necessary position of the layer within the project. (Fig 3.3).
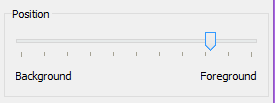
Fig. 3.3. Slider for changing the position (depth) of the selected layer
There are also 2 parameters at the top of the panel that can be applied to each of the layers:
Visible - allows you to include/exclude the chosen layer when generating images in the current virtual scene.
Locked - allows you to lock the layer and prevent it from being moved within the template.