2.9 Positioning frame
Switch to the Lenticular tab of the Navigator window and press Positioning frame.
It is necessary to position the lenticular lens properly on the printing table before printing. To do so - generate the positioning frame and print it on the printing table.
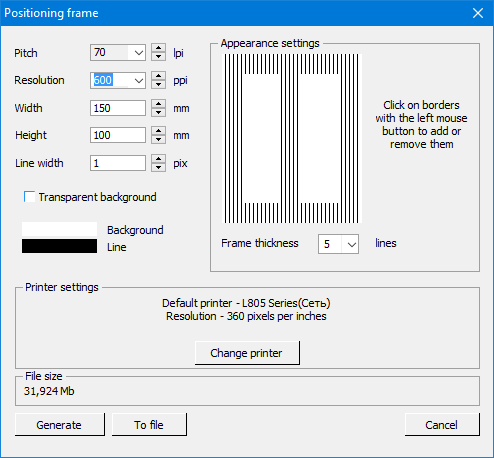
Fig. 2.9.1. Positioning frame
Here you should specify the precise lpi value of the lens you use (make a pitch test to get this value), resolution of you printer in ppi (pixels per inch), width and height of the frame (it is recommended to use the image size), width of lines (in pixels), color of the lines (black or white for white or black printing tables correspondingly), color of the background (transparent color is available). It is also necessary to adjust the appearance of the frame by choosing the number of border lines and adding or removing the borders (up and down, on each side and on center). To add or remove the borders left-click on borders in the frame preview block.
Press Generate to encode positioning frame to display or press To file... choose folder where to save the image and generate positioning frame to file.