3.7 Printing images
Print Setup
Menu command: Project >> Print Setup
The command opens the standard Windows Print Setup dialog where you can select the printer, used on default, the size and orientation of paper.
Print Preview
Menu command: Project >> Print Preview
Hot keys: Ctrl+P
Toolbar button: 
The Print Preview command switches the program to the print preview mode. You can see the position of the image on the print page in this mode. The Print button sends an image to the printer. The Close button exits the preview mode. The Print Setup button opens a standard Print Setup dialog.
In the Print Preview mode, you can:
- use the mouse or the keyboard to set the position of the image on the print page (the coordinates of the upper-left corner in mm: x, y);
- rotate the image 90° – select the Horz/Vert checkbox;
- fill the page with image copies (the Fill checkbox) and specify the interval between copies (the Interval field);
- use mouse scrolling to zoom the image in and out.
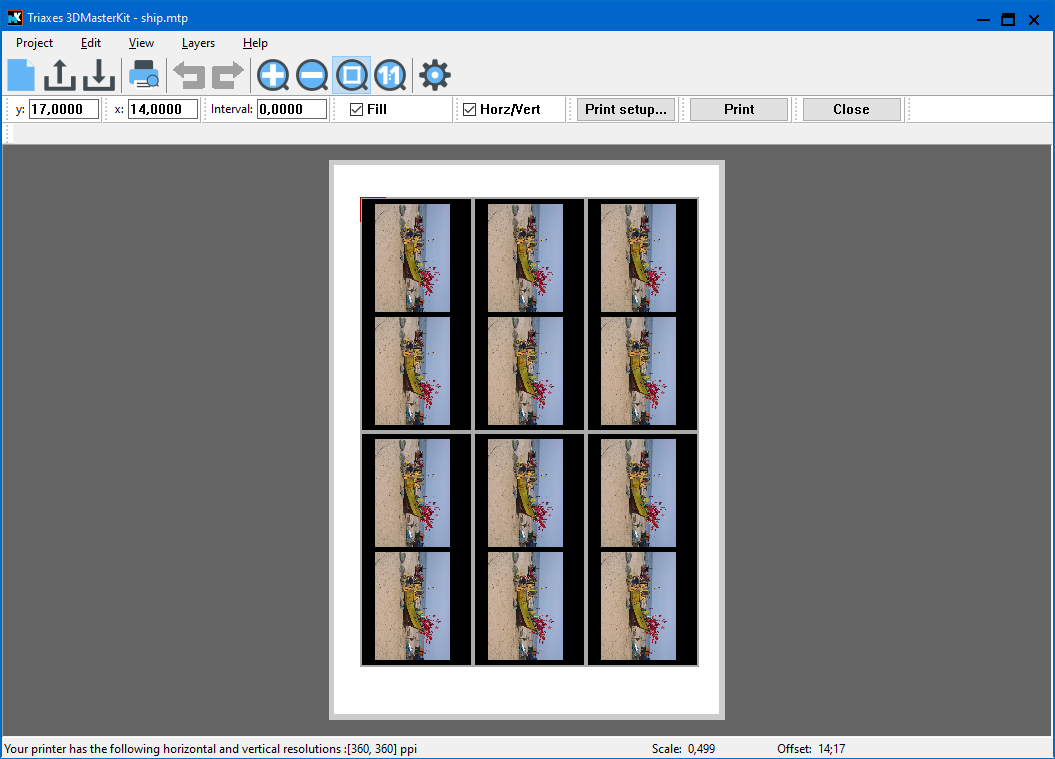
Fig. 3.7.1. Print preview
The status line shows the current printer resolution in dpi (ppi) received directly from the printer driver.