How to Render Depth Map
- Open the Depth Map tab.
- Select the scene and the frame.
- Use the Depth map group of controls (Properties tool window) to get a better depth map.
Keep in mind the following points:
- The depth map is calculated automatically after changing the settings.
- The settings in the Properties window apply to the entire selected scene. If you want the settings to apply to multiple scenes, select these scenes in the Timeline list.
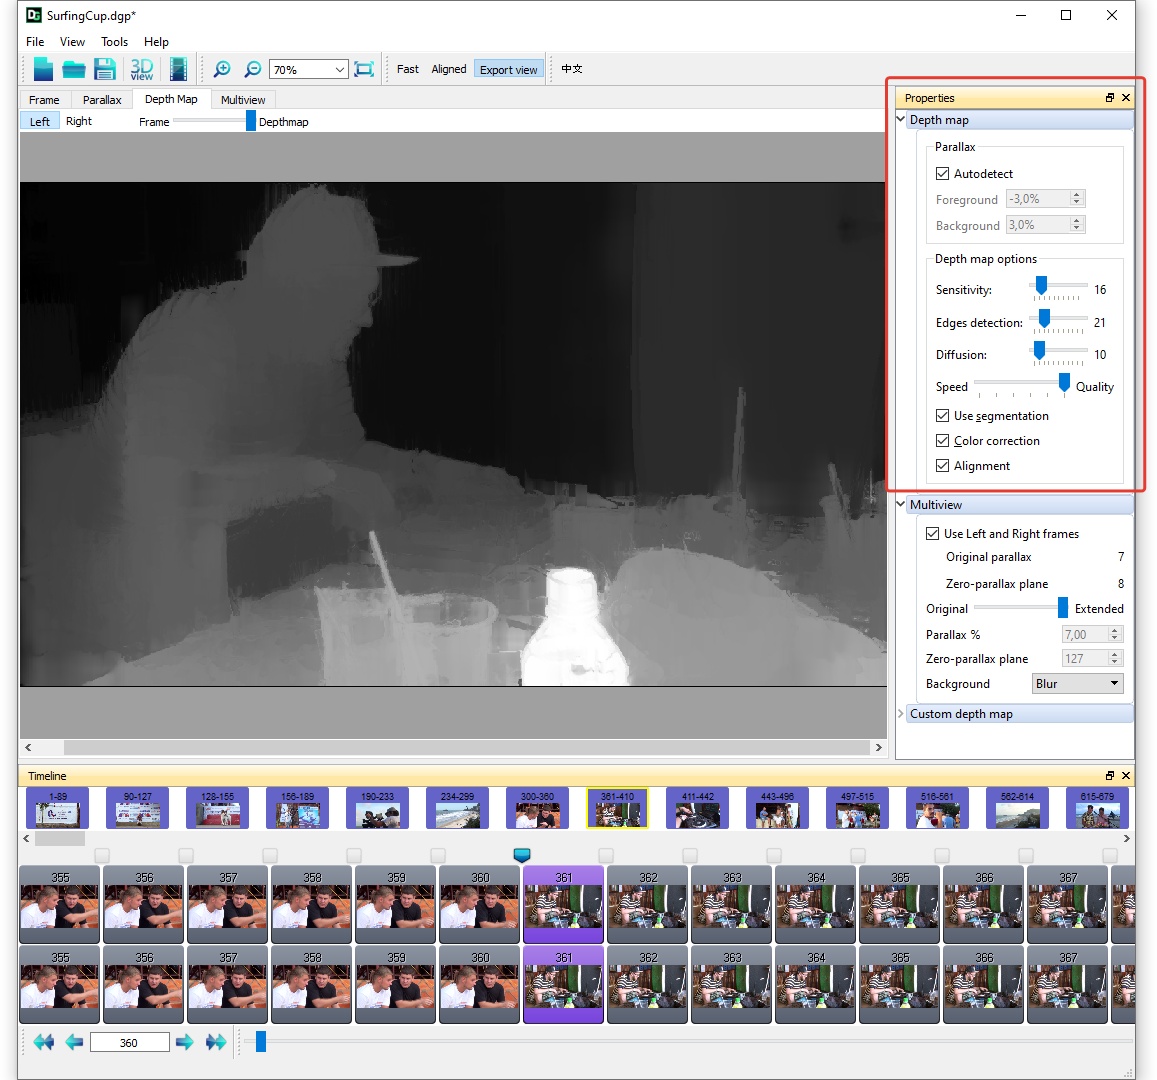
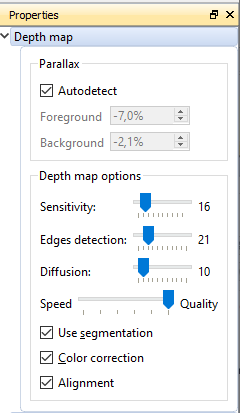
Parameters for generating a depth map in the Properties window
|
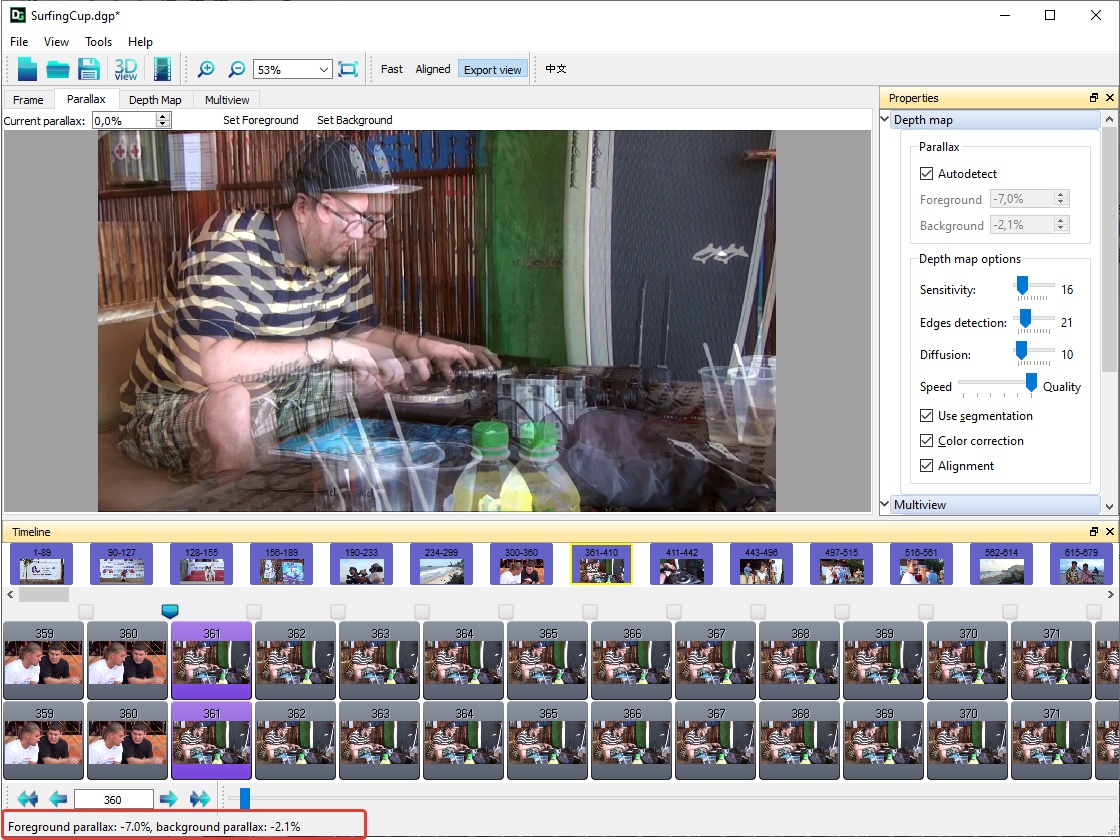
Set the Parallax: Mark the Autodetect checkbox to find the foreground and background parallax automatically. There is also an option to correct them manually by choosing optimal values for the best depth map calculation. Also there is a special Parallax tab which could be used to find the range of the stereo parallax.
Depth map options There are 3 parameters (Sensitivity, Edge detection, and Diffusion) plus the Speed-Quality slide bar. To find the best option for the current scene, try the minimum, intermadiate, and maximum values of each parameter and visually evaluate the result.
Use the Speed-Quality slide bar to set the needed depth map resolution. Set Segmentation to make the edges of the object on the depth map sharper. Using segmentation can also make the calculated depth map errors more noticeable - this can add more distortion when rendering 3D multi views. Use this option depending on the specifics of the scene. Color correction can be useful if there is a difference in the source channels. Alignment helps to get a better matching of the source channels. |
The selected pair of frames is shown in the open Parallax tab