3.6 Canvas and images cropping
Canvas
The conception of canvas in 3DMasterKit is similar to that in Photoshop. The canvas' size limits the working area of the crop frame.
The canvas size is in pixels and is automatically set when you open the first image (either with layers or a source one). When you open a file of the Photoshop .psd format, the canvas size in 3DMasterKit is set as equal to the canvas size saved in this file.
If necessary, you can change the canvas' size in the Canvas settings dialog (Fig. 3.6.2).
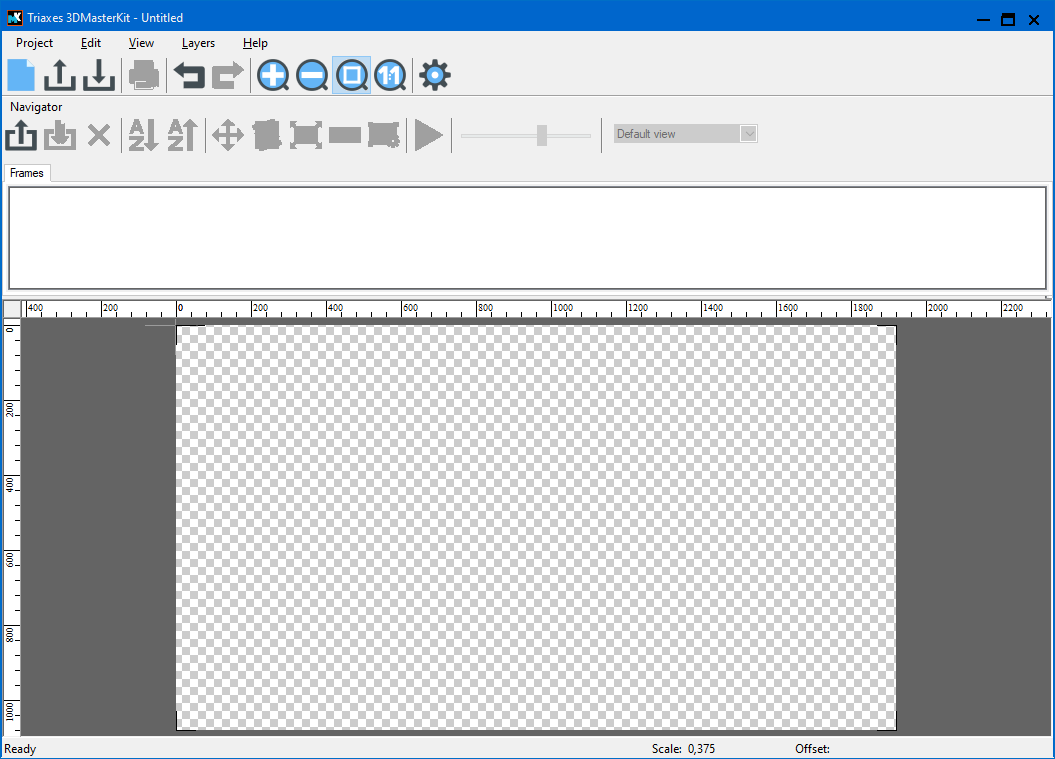
Fig. 3.6.1. The canvas
Canvas settings dialog
The dialog of the crop rectangle parameters settings (Canvas settings dialog) is used to change the canvas size.
The canvas size is set in pixels.
Menu command: Edit >> Canvas settings
Hot keys: Ctrl+Q
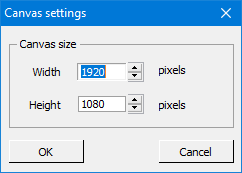
Fig. 3.6.2. Canvas settings dialog
Crop rectangle
A crop rectangle is an interface element of 3DmasterKit that is used to select those parts of frames that will be used to create an encoded image. The crop rectangle is colored in an inverse color. The crop rectangle is always on the screen if the Frames tab is open. A crosshair marks the center of the crop rectangle.
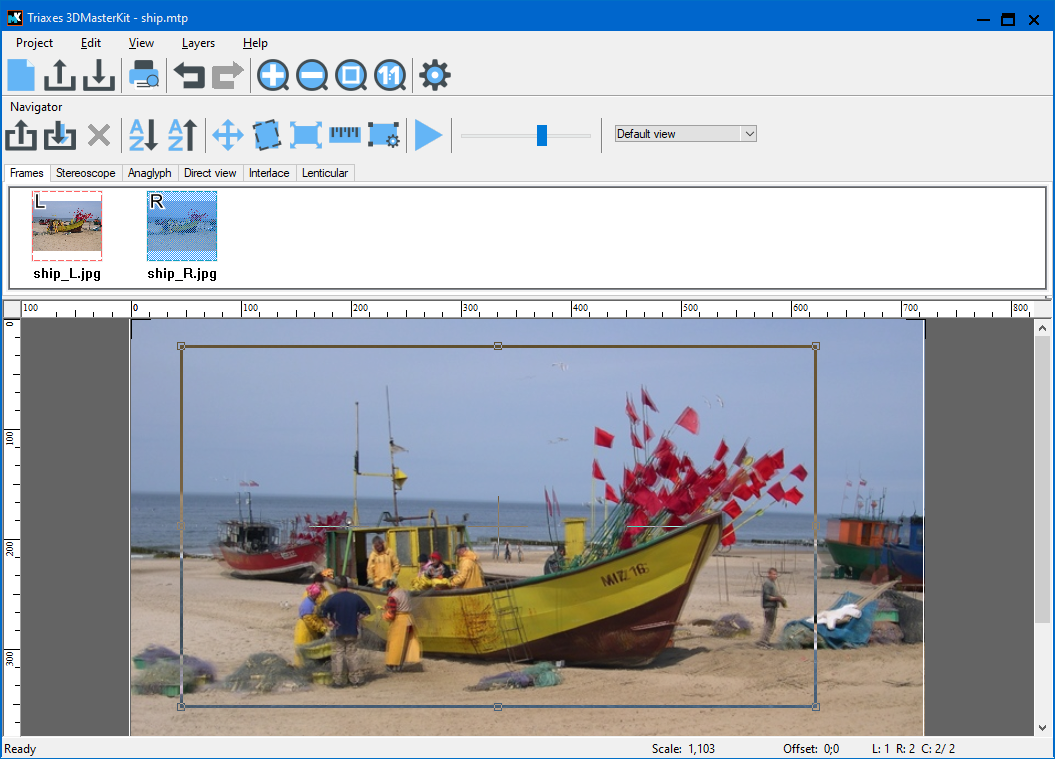
Fig. 3.6.3. Crop rectangle
There are active areas at the corners of the frame (shown as small squares) and you can use them to change the size and aspect ratio of the frame. To change the size of the crop rectangle, move the mouse pointer over the active zone, press the left mouse button, drag the pointer to the new position and release the button. You can move the whole crop rectangle to a new position by capturing any side of it with the mouse. The crop rectangle is always located in the area of the frame overlapping. The area of the frame overlapping is marked with a rectangle drawn with a thin white line.
Crop Rect Settings dialog
The Crop Rect Settings dialog is used to control the properties of the crop rectangle.
Menu command: Edit >> Crop Rect Settings
Hot keys: Ctrl+F
Toolbar button: 
Besides, you can open this dialog by clicking the right mouse button at any side of the crop rectangle.
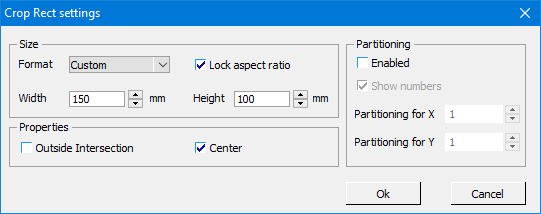
Fig. 3.6.4. Crop Rect Settings dialog
It is often necessary to specify the aspect ratio of the crop rectangle corresponding to the planned size of the stereo image. For example, it can be the size of the lenticular screen equal to 100x150 mm. To make the encoded image corresponding to this size, specify the necessary Aspect Ratio for the crop rectangle. Use the Width and Height fields to specify the aspect ratio. In order to avoid accidental changes in the aspect ratio of the crop rectangle in the process of image correcting and cropping check the Lock Aspect Ratio checkbox.
The Center parameter enables the automatic mode for selecting the size and position of the crop rectangle. In this mode, the size of the crop rectangle is set to the maximum possible value taking into account the specified aspect ratio and it is located in the center of the image overlapping. When you change the relative position of frames, the area of their overlapping may get smaller. The crop rectangle automatically monitors all changes and corrects its position.
When you change the size or position of the crop rectangle manually, the Center mode is disabled.
3DMasterKit Professional edition allows to split an image into parts. It may be useful if it’s necessary to make a large format image.
The parameters of image splitting can be set in the Crop rectangle dialog (Fig. 3.6.4) and include:
- Partitioning on/off;
- Enumeration on/off;
- Х axis partition – the number of parts horizontally;
- Y axis partition – the number of parts vertically.
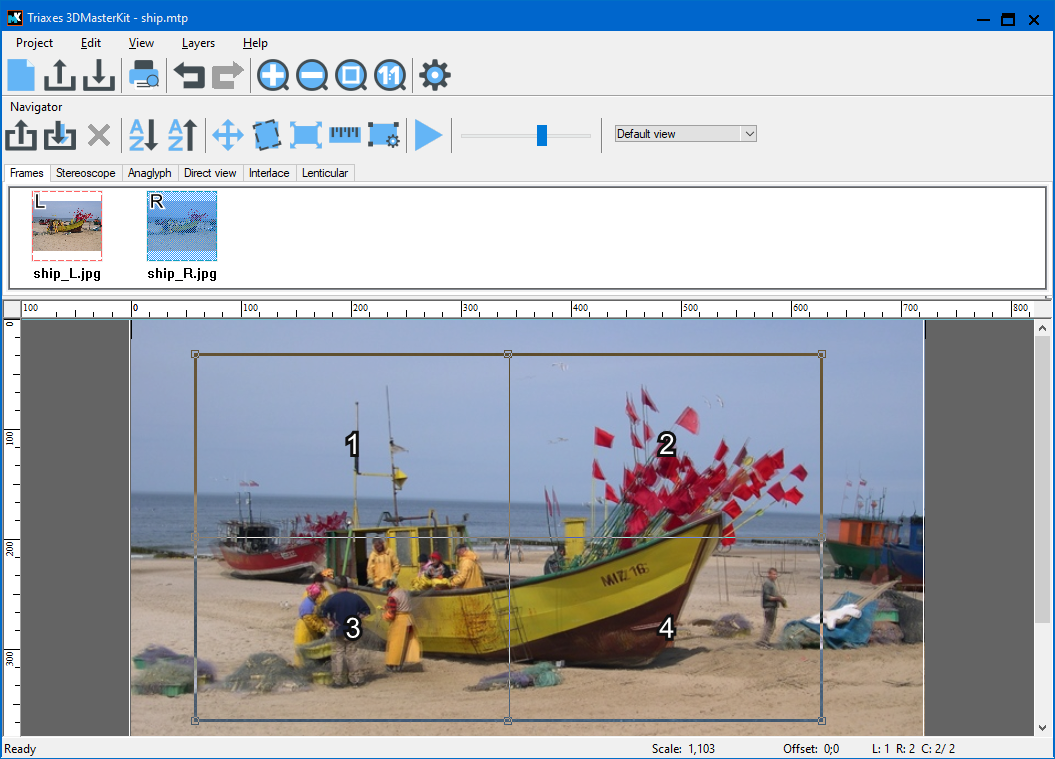
Fig. 3.6.5. Partitioning
After you have set the partitioning parameters you can go to the Lenticular tab, when you press Generate, the Part by part encoding dialog appears (Fig. 3.6.6).
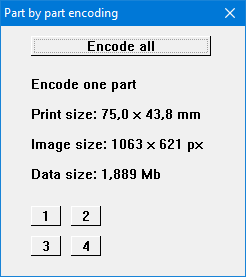
Fig. 3.6.6. Part by part encoding dialog
It is possible either to encode the whole image or to choose a certain part of it. When generating to a file the Encode all by parts button allows to save all parts of the image at once. They will be saved in separate psd (psb) or bmp files on your hard drive.
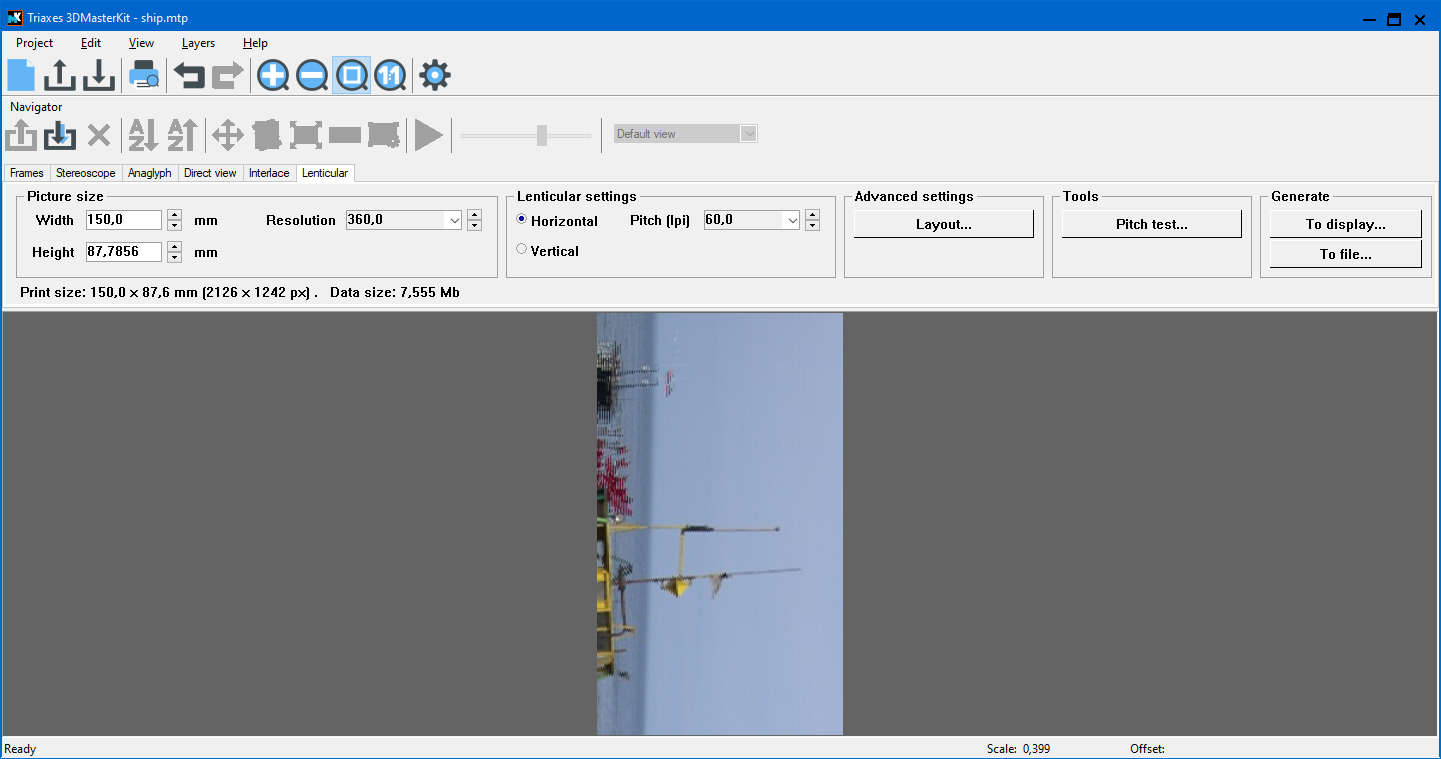
Fig. 3.6.7. Part by part generation on the screen